iPhone and mobile photography and photo editing techniques have come so far over the last couple of years. Those who dreamed of better photos and had to resort to professional editing now have the opportunity to make their photos professional quality on a super tight budget. How? By using presets online! With a couple of clicks on your smartphone, you can do stunning photography and edits yourself!
Presets are perfect for social media influencers, bloggers, and those who just want their photos to wow. Presets provide fresh new takes on your photos and you can adjust to your liking without spending hours editing one perfect feed photo. Loading up your laptop can be so time-consuming when you’re on the go so it makes perfect sense to have your presets on your android phone!
Enter our influencer toolkits Lightroom Presets!
You can install presets for Lightroom mobile app and apply them to your images and create professional edits on the go or travelling.
We are going to explain the benefits of Lightroom presets and how you can install and use mobile lightroom presets on your Android device
Professional Photo Editing Experience
Our Lightroom presets help you to get a professional edit. You can purchase them online and use them for your photos without the hassle of making them yourself. Mobile presets are the best choice when you haven’t got the space to carry your laptop on the go and want a quick and easy edit.
Huge Variety of Presets to Choose From
There are thousands of Lightroom and other presets available online that can be used to do professional photo editing. You can get color-specific, region-specific and even feel-specific presets. If you just know how to do basic tweaks, you’d be able to use these presets anywhere you want to. Basic Adjustments we suggest include temperature, exposure, tint, saturation, and vibrance to make sure your photo is as good as can be.
Saves Time
The biggest benefit of the Lightroom presets is the time that you save for photo editing. Instead of having to manually edit all your photos, you can use our lightroom presets and do your edits in an instant. This is the power of presets and why they are the best choice for photo editing beginners and novices but also professionals looking to save time in their editing workflow.
How to Install Presets on Android
Using Creative Cloud Services
If you have a desktop Lightroom version synced with your android Lightroom app, you can import the presets from there and they should automatically show up on your phone. This is the easiest way to import the presets and use them on your android phone.
Here is how you can use the creative cloud services to add Lightroom presets to your Mobile Lightroom App
Download a set of desktop presets like these or add your DNG files to desktop using these instructions.
Run the Lightroom CC cloud-based version on your PC
Go to the menu and choose the File Option from there
From the Menu, choose the Import Profiles and Presets option
Browser your PC to find the Presets file
Select the File and click on the Import Button
The preset would be added to the Lightroom
Now, you can go on and open your Lightroom mobile app. You will see the newly added presets in the Presets Tab.
Without Using Desktop
You can add the Lightroom presets to your Android Lightroom App without using the Desktop Lightroom app. The process for that is quite simple. It is best suited for people who are not into photo editing and want to edit their photos on the go.
Here is how you can install presets on Lightroom Android without using your desktop
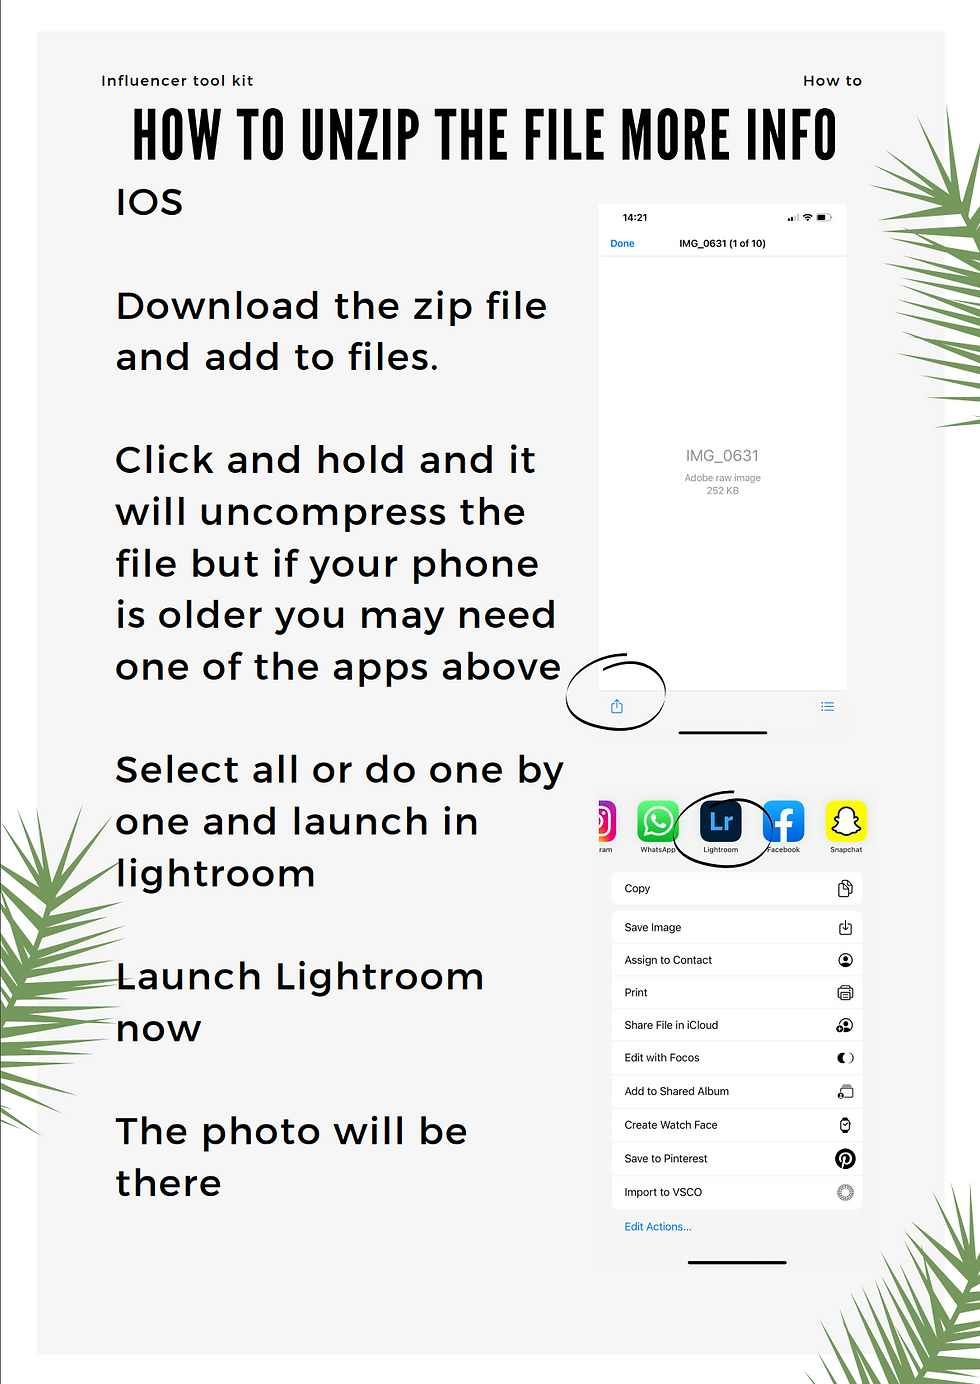
Download Lightroom Presets from the internet using your phone
Run the Lightroom Mobile App
Go to the Edit and choose Photo from your Storage
Choose the Presets option from the edit page
Tap on the 3 dots on the top right corner of the menu to open preset settings
Select the Import Presets Option
Choose the Presets File from your Storage
Wait for the Presets to Load up in the Adobe Lightroom Mobile App
Once the presets are done and uploaded, you can apply them to all your photos. You need to keep in mind that the presets that you download are stored in the local storage of your phone. If the downloaded presets are on the cloud-based service, you won’t be able to add them to the Lightroom mobile. Presets just won’t show up in the storage.
Final Words
This is all there is to it! The process for installing presets on android is quite simple and if you follow the above methods, you shouldn't have any issues in using your presets quickly and easily on your android device!
Using Lightroom presets gives you a much better photo editing product and photos than editing them on Instagram's native editing software. These presets can prove to be a great editing tool for you when you have to edit photos on the go. Of course, you can go for manual editing if you want to. But if saving time and effort is your primary concern, using our Influencer Toolkit Lightroom presets will help you do just that.


